
The Breakdown: How To Clean Bennetic Sneaker
There are five steps in the shoe-cleaning process:
- Getting prepped and gathering the essentials
- Washing the outsole
- Washing the uppers
- Washing the laces
- Letting your shoe and laces air dry
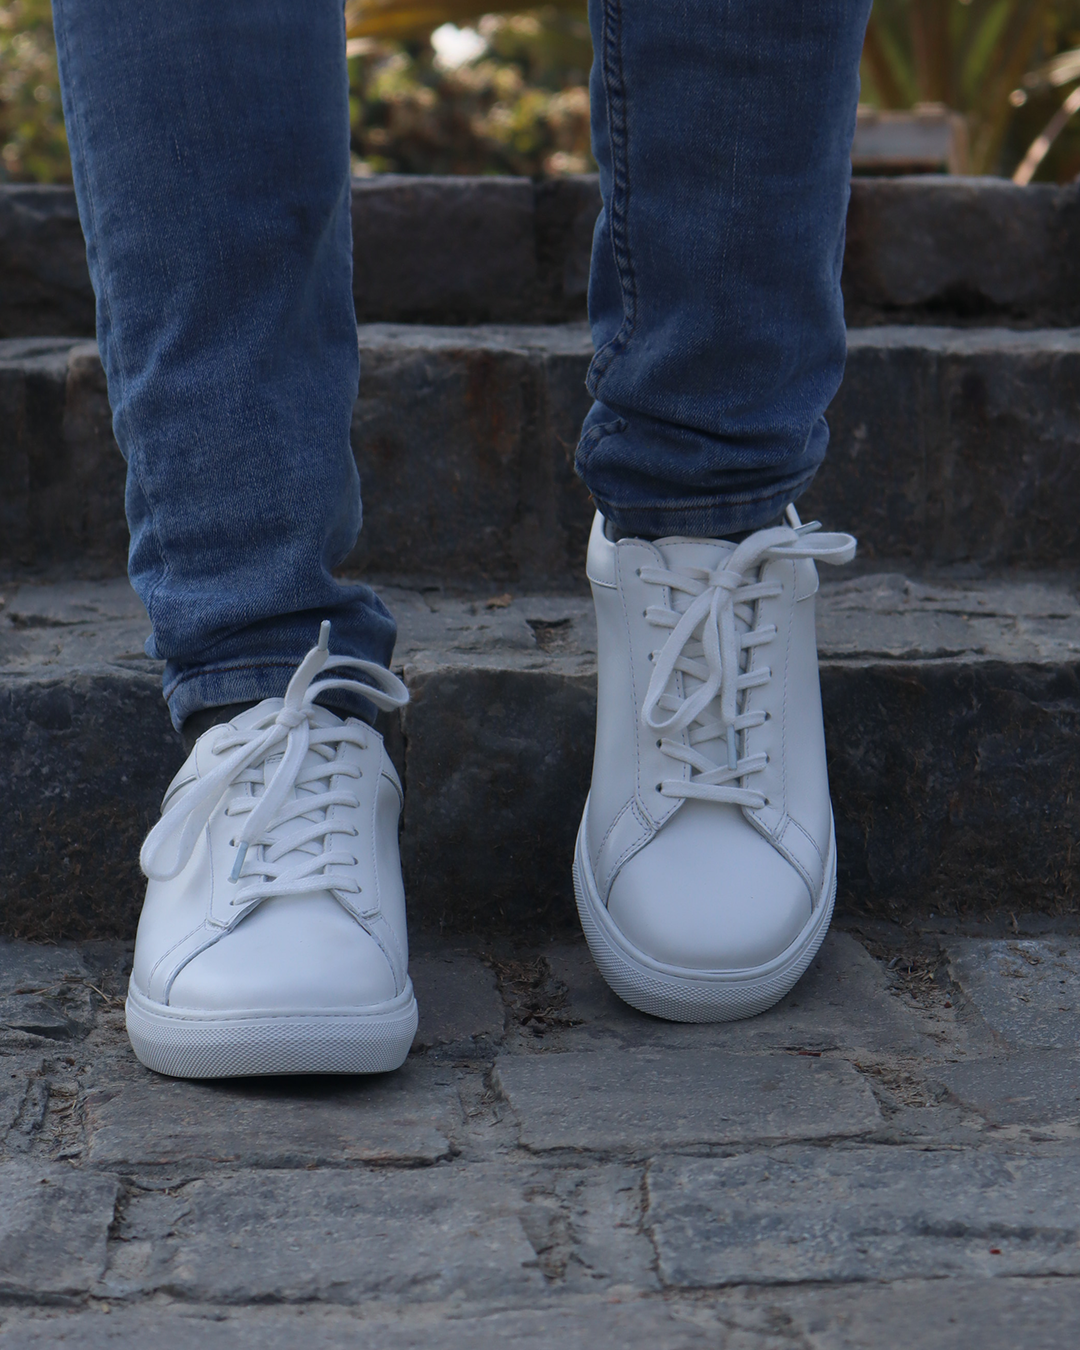
Today we’ll be cleaning the Bennetic Sneaker. This iconic shoe is made of a leather upper and rubber outsole, making it pretty easy to clean. “The leather on most jirome is tough enough to go through quite a bit of scrubbing and not show any scratches or scuffs, The rubber on the toe and the outsole is great too because it doesn’t matter what you do to it, it won’t get marked up.”
Before we get into learning how to wash Bennetic sneaker we must gather the essentials! You will need the following materials:
- Microfiber towels
- Warm water
- Shoe cleaning solution or soapy water
- Warm Bleach water for your laces
- Socks or a shoe form to place inside of your shoe to keep its shape while cleaning.
- A cleaning tray or towel
- Nitrile gloves
- Soft and hard bristle brush
- Toothbrush
- Dirt picking tools
1. Get Prepped
Once you have all your essentials gathered, it’s time to prep your shoe for cleaning.
Put on your gloves and place your dirty shoes in your tray or on top of a towel.
Begin removing the laces from your shoe.
Once you remove the laces, place them in the bowl of bleach water. Spend a minute massaging the bleach into the laces. Place them to the side and let them soak. We will come back to them later.
Using your soft bristle brush, begin knocking any loose dirt you see off the upper of your shoe. Use your toothbrush to get into smaller areas of your shoe.
Once the upper has been dusted off, pick up your hard bristle brush and begin knocking dirt off the rubber outsole of your shoe.
After you knock all the debris off your shoe, stuff your socks or shoe form into your shoe to help it keep its shape while getting cleaned.

2. Washing the Outsole
The outsole is the part of the shoe that touches the ground when you walk. When learning how to clean shoes remember that you may need different tools to clean specific areas of your shoe. Use your hard bristle brush when cleaning the outsole.
Pick up your hard bristle brush and wet it with some warm water. Then add some cleaning solution to the brush.
Begin scrubbing the outsole. Let the grooves of this part of the shoe guide you as you clean it.
You can pick up your dirt pick and use it to get into the hard-to-reach areas of the outsole.
Wipe your shoe down with the microfiber cloth as you go.
Once you feel like the outsole is clean, move on to the upper.

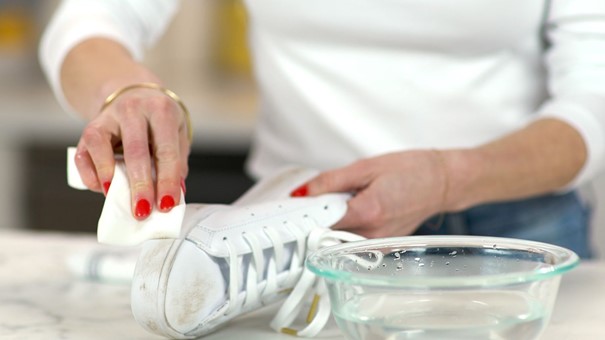
3. Washing the Upper
The upper is the area of the shoe that covers the entire foot. Use your soft bristle brush to not wear away the material when cleaning this part of the shoe.
Wet the soft bristle brush with clean warm water and apply some cleaning solution or dish soap to it.
Begin scrubbing the upper area of the shoe. You want to take your time and scrub gently when cleaning the upper to keep the material in good condition.
Spend extra time scrubbing away any deep stains or smudges.
Use the toothbrush to target specific stains in harder-to-reach areas on your shoe.
Use your microfiber towel to wipe away the dirt as you clean.
4. Washing the Laces
Your laces allow your sneakers to fit snugly and securely—when clean—they are the cherry on top of a dazzling shoe.
Pick up your laces and wring them out. You’ll see all the dirt is now in the bleach water and not in your laces.
Lay a microfiber cloth on your tray or base towel and place your laces on top.
Fold the towel over the laces and press down to squeeze any excess water out of the laces.

5. Let Them Air Dry
The final step in the shoe cleaning process is to let them dry!
Place your laces near your shoes and let them air dry at room temperature, away from direct sunlight. This process can take a while, but when your shoes feel dry to the touch inside and out, they’re ready to wear again!
